Building an Open Source Chrome Extension from Scratch -- Part 1
What is a manifest ? What is a background file and service workers ? How does a popup work ?? All such questions will be answered here.


In this series , we will make a Chrome Extension from scratch which will tell us the number of tabs open in the browser.
Prerequisites
For this extension, you will need basic HTML
JavaScript DOM manipulation, callback functions.
We will be covering CSS, JS fetch and promises in the next articles.
This Chrome extension is made with the newer Manifest Version 3 as MV3 has better privacy, security, and performance . Google is also dropping support for MV2 soon but in case you want to learn more about MV3 , read here. You can request a MV2 version of the extension by reaching out to me on my socials.
Starting with the Basic Question....
What are Extensions?!?!!!!
Going by the book, i.e the Official Chrome Extension Documentation,
Extensions are small software programs that customize the browsing experience
These Extensions are built on web technologies such as HTML, JavaScript, and CSS and run in a separate, sandboxed execution environment and interact with the Chrome browser. Extensions allow you to
- Automate functionality in your browser
- Modify existing behaviors
- Improve your browser experience
To create an extension, you assemble some resources -- a manifest, JavaScript and HTML files, images, and other things that constitute the extension -- so let's start building one.
The following will be the folder structure of the extension and is available on tabsMonster Github repo
--- tabsMonster-chrome
    |
    |--background.js
    |
    |--img
    |   |
    |   |
    |   tabsMonster-16.png
    |   tabsMonster-32.png
    |   ...
    |
    |--manifest.json
    |
    |--popup.html
    |
    |--popup.js
    |
Create the manifest
But before we write it out, what is a manifest??
manifest.jsonis a JSON-formatted file that provides important information about the extension. It is like the identification certificate of the Chrome Extension.
To get started , we will have the bare minimum and we will build upon it.
{
    "manifest_version": 3,
    "name": "tabsMonster",
    "description": "A Chrome extension to keep a tab on your Browser Tabs.",
    "version": "0.0.0"
}
After adding the the above in a manifest.json file in a directory named tabsMonster-chrome, we will have a Chrome extension ready to be loaded on the Browser.
Open Chrome Browser.
Go to Browser Options --> More Tools --> Extensions
Turn on the Developer Mode in the top right
Click Load Unpacked and select the
tabsMonster-chromedirectory.
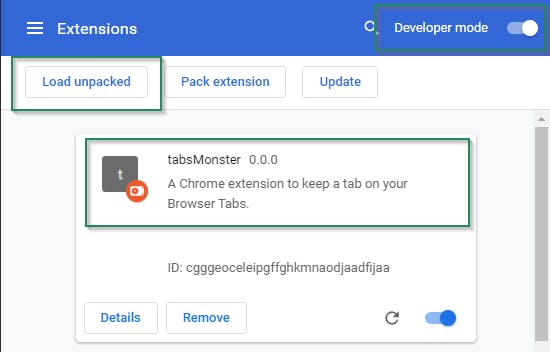
You will see your extension in the tab and CONGRATULATIONS🎉🎉🎉, you just made a Chrome Extension.
But can it do anything yet?

It was like writing 'Hello World' till now. Let us dive a little deeper.
Add functionality
A variety of functionalities can be added to a Chrome Extension but you have to decide what exactly you want to implement.
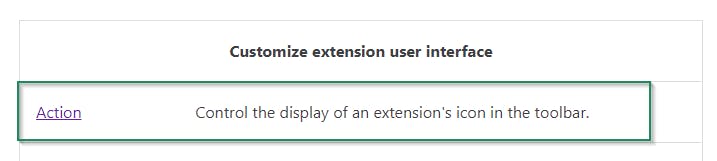
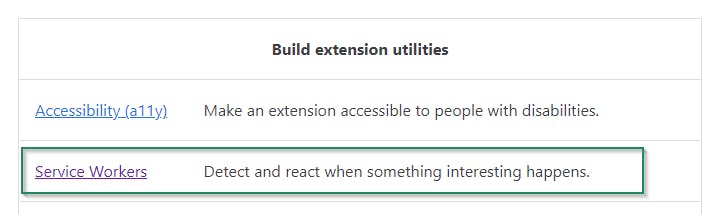
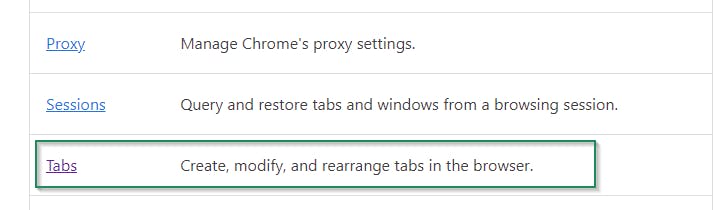
We will be using the above highlighted functionalities in this article out of the complete dev guide.
Register the background-script/service-worker in the manifest
{
    "manifest_version": 3,
    "name": "tabsMonster",
    "description": "A Chrome extension to keep a tab on your Browser Tabs.",
    "version": "0.0.0",

    // Registering background script
    "background": {
        "service_worker": "background.js"

    }

}
What exactly is a service worker and what can it do?
A service worker is a script that your browser runs in the background, separate from a web page, opening the door to features that don't need a web page or user interaction.
A background service worker is loaded when it is needed, and unloaded when it goes idle. Some examples of events include:
- Extension install or update.
- The background page was listening for an event, and the event is dispatched.
- Message recieved through content script or popup.
Create the background script
//background.js

chrome.runtime.onInstalled.addListener(function(object) {
    chrome.tabs.create(
        {
            url: "https://aunicorndev.github.io/tabsMonster/"
        }
    );
});
What is chrome.x.y.z??
Chrome provides special-purpose APIs which reside under the chrome namespace and have different modules like runtime, tabs,action etc.(full list here) which can be used only by the extension's code to interact with the Browser. For in depth explanation, watch this video
These API's give access to browser properties, methods and events which can have callback functions in response to the event triggers.
In the above example,
An eventListener(chrome.runtime.onInstalled.addListener) is attached which will fire once the Chrome Extension is installed.
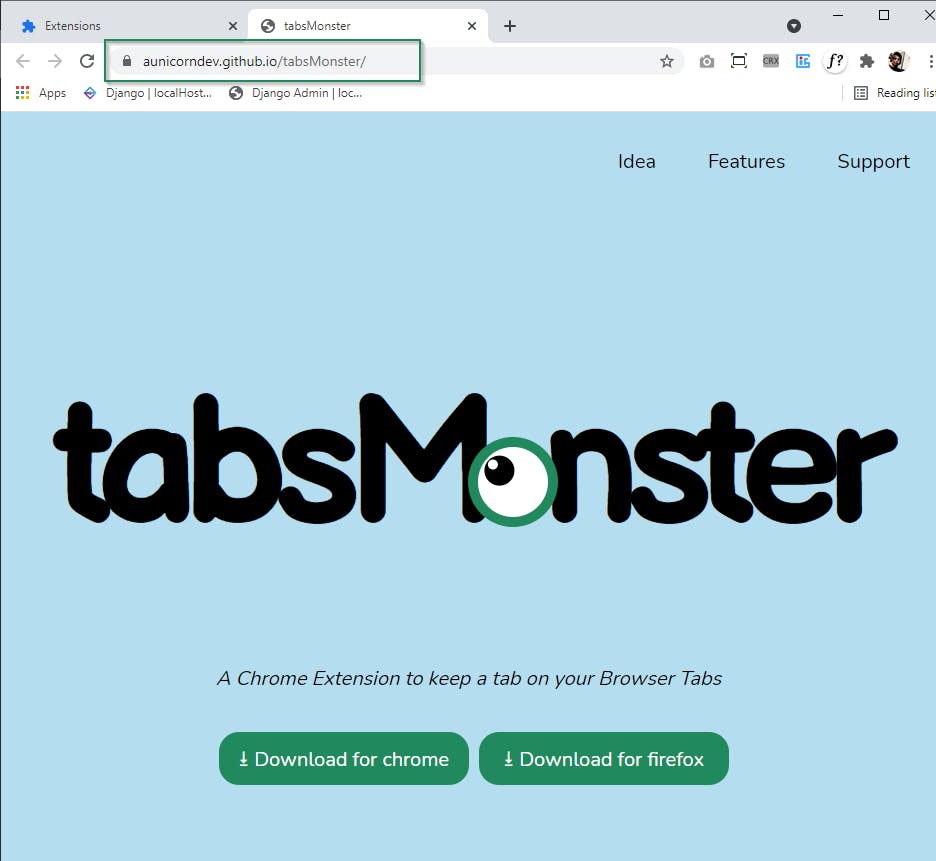
Once the event is fired, a callback function we will create a new tab (chrome.tabs.create) with the tabsMonster landing page as the URL.
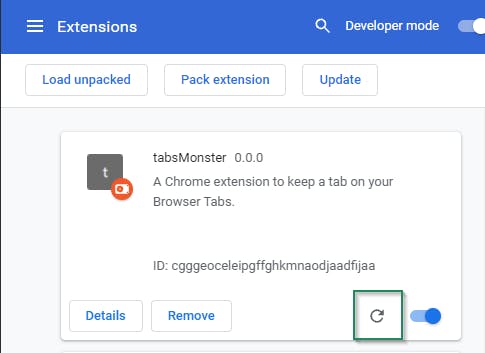
Reloading the Extension
 Once the changes to
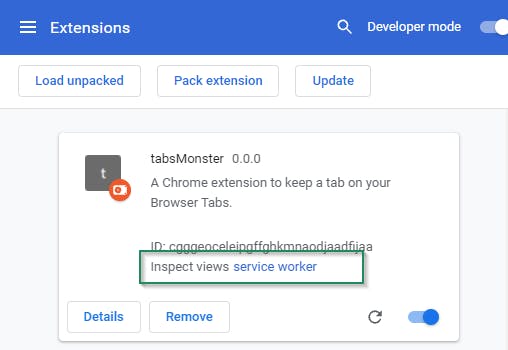
 manifest.json and background.js have been made, reload the extension and two things will happen.
- A new tab will be created with the tabsMonster landing page
- On opening Extensions tab, you will see a service worker file in your extension
Introduce a user interface
Jumping on to the main goal, we want to count the number of currently open tabs and display that count somewhere... So how do we do that ??
Thankfully Chrome Extension provides an interface which behaves like a small website in its own and can use the Chrome API's to get the data we require.
Add Permissions for Interface
{
    "manifest_version": 3,
    "name": "tabsMonster",
    "description": "A Chrome extension to keep a tab on your Browser Tabs.",
    "version": "0.0.0",
    "background": {
        "service_worker": "background.js"

    },

    // Icons for the extension
    "icons": {
        "16":"./img/tabsMonster-16.png",
        "32":"./img/tabsMonster-32.png",
        "48":"./img/tabsMonster-48.png",
        "128": "./img/tabsMonster-128.png"
    },

    // Action settings
    "action": {

        "default_icon": {
            "16":"./img/tabsMonster-16.png",
            "32":"./img/tabsMonster-32.png"
        },
        "default_popup": "popup.html"
    }


}
The icons have different function for different sizes as listed below
| Icon Size | Icon Use |
| 16x16 | favicon on the extension's pages |
| 32x32 | Windows computers often require this size. Providing this option will prevent size distortion from shrinking the 48x48 option. |
| 48x48 | displays on the extensions management page |
| 128x128 | displays on installation and in the Chrome Webstore |

Create the action and Layer Logic
<!--popup.html-->
<!DOCTYPE html>
<html lang="en">
<head>
    <meta charset="UTF-8">
    <meta http-equiv="X-UA-Compatible" content="IE=edge">
    <meta name="viewport" content="width=device-width, initial-scale=1.0">
    <title>tabsMonster</title>
</head>
<body>
    tabsMonster
    <h1 class="tabsCount"></h1>
   <!--Script tag for logic-->
    <script src="./popup.js"></script>
</body>
</html>
Here we simply add a boilerplate code with a <script src="./popup.js"></script> in the body and a h1 with a class= tabsCount which will be populated in the next step.
Logic for popup.js
//popup.js

const tabsCount = document.querySelector('.tabsCount');

const setMonsterData = (res)=>{

    tabsCount.textContent = res.monster;
}


document.addEventListener('DOMContentLoaded',()=>{

    chrome.tabs.query({windowType:'normal'}, function(tabs) {
        setMonsterData({ monster:tabs.length })
    })

})
This is where the functionality is introduced in the interface..
We get the tabs information in a callback function on querying the chrome.tabs API and use the tabs.length property to set the number of tabs in popup.html.
The changes in the background.js and manifest.json will only reflect when you reload the extension
After reloading and clicking on the extension in the extension list, you will be able to see the number of tabs open for your browser !!
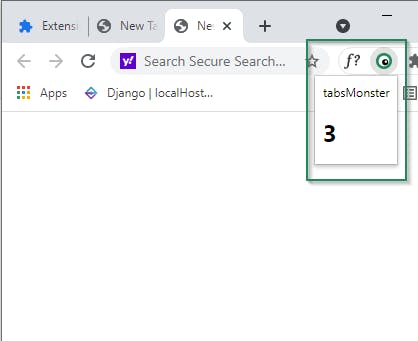
And VOILÁ 🔥🔥, you have a working Chrome Extension in your browser !!
BUT WAIT
That is not all, in the next blogs in this series we will learn to use more Chrome API's like the storage,content scripts,options and add more functionalities to it by calling external API's.
Did you like this Open Source project and want to learn & contribute?? Jump in github.com/aUnicornDev/tabsMonster..
Give it a ⭐ while you are at it.. Really helps in motivating us 😊.