
Making the Hashnode Auto Reload Extension
Let us make(another 😂😂) Chrome Extension from Scratch !!


In a previous blog, we saw how we can install and run the Hashnode Auto Reload Extension locally.
In this article, we will make the Hashnode Auto Reload Extension from scratch.
Prerequisites
- Javascript (callback function, DOM manipulation, API's)
- Chrome API's
I have also explained Chrome API's here.
Before we jump into it, let me just clarify some keywords we are going to be using further in the article,
- Draft Tab - the tab where you will write your blog
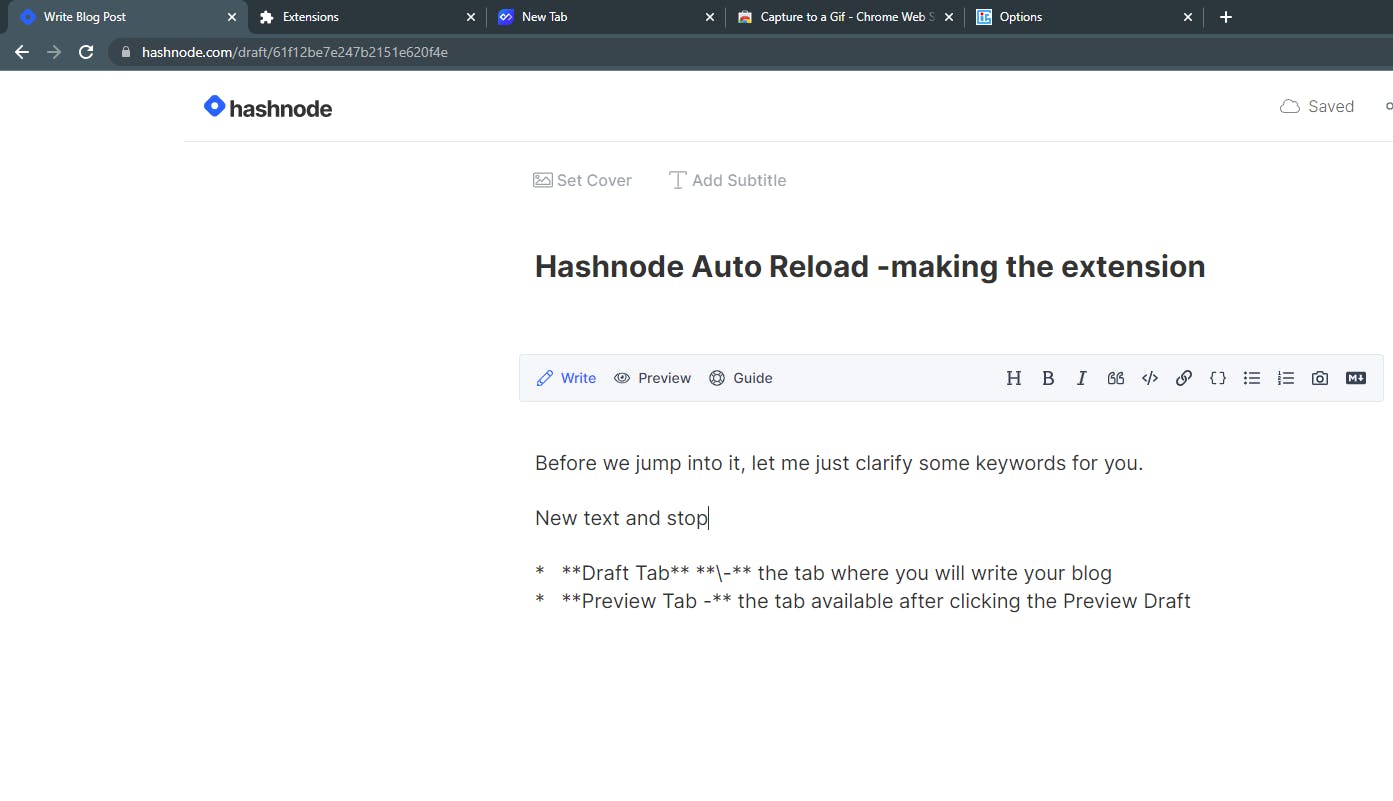
- Draft Preview Tab(Preview Tab) - the tab available after clicking the Preview Draft
For the Chrome Extension to work, we need to make the below listed actions possible.
- Open the Preview Tab in a new window on clicking the extension
- Listen to changes in the Draft Tab
- Link both the Preview and Draft Tab
Opening the Preview Tab on clicking the extension
Adding a manifest
// manifest.json

{
    "manifest_version": 3,
    "name": "Hashnode Auto Reload",
    "description": "Hashnode Auto Reload",
    "version": "0.0.0",
    "background": {
        "service_worker": "background.js"

    },
    "action":{

    },
    "permissions": [
        "tabs"


    ]
}
Let us go to the above properties one at a time..
- manifest_version - The version in which we want our chrome extension, and because Version 2 is soon going to be deprecated, we are using 3.
- name and description - The name and description that will be shown on the Chrome webstore and your extension
- version - The Version of the extension
- background - This is the script which will run out of the context of the tabs in the background and can have multiple listeners as we will see below
- action - Defines the popup and icons of the extension. We will define action as empty because we don't need any popup on clicking the extension.
- permissions - A list of permission required for the extension. We need to use the URL of the current tab so we need the "tabs" permission.
Adding service worker(background.js)
//background.js

chrome.action.onClicked.addListener((draftTab)=>{


    let tabUrl = new URL(draftTab.url);

    if(tabUrl.hostname==="hashnode.com" && tabUrl.pathname.includes('draft')){

        newTabUrl = tabUrl.href.replace('draft','preview');

        chrome.windows.create({
            url: newTabUrl
          },(previewTab)=>{
              //callback function is used in the next half of the article
          });
    }
});
The chrome.action.onClicked has an Event Listener attached which will fire when the icon for the extension is clicked.
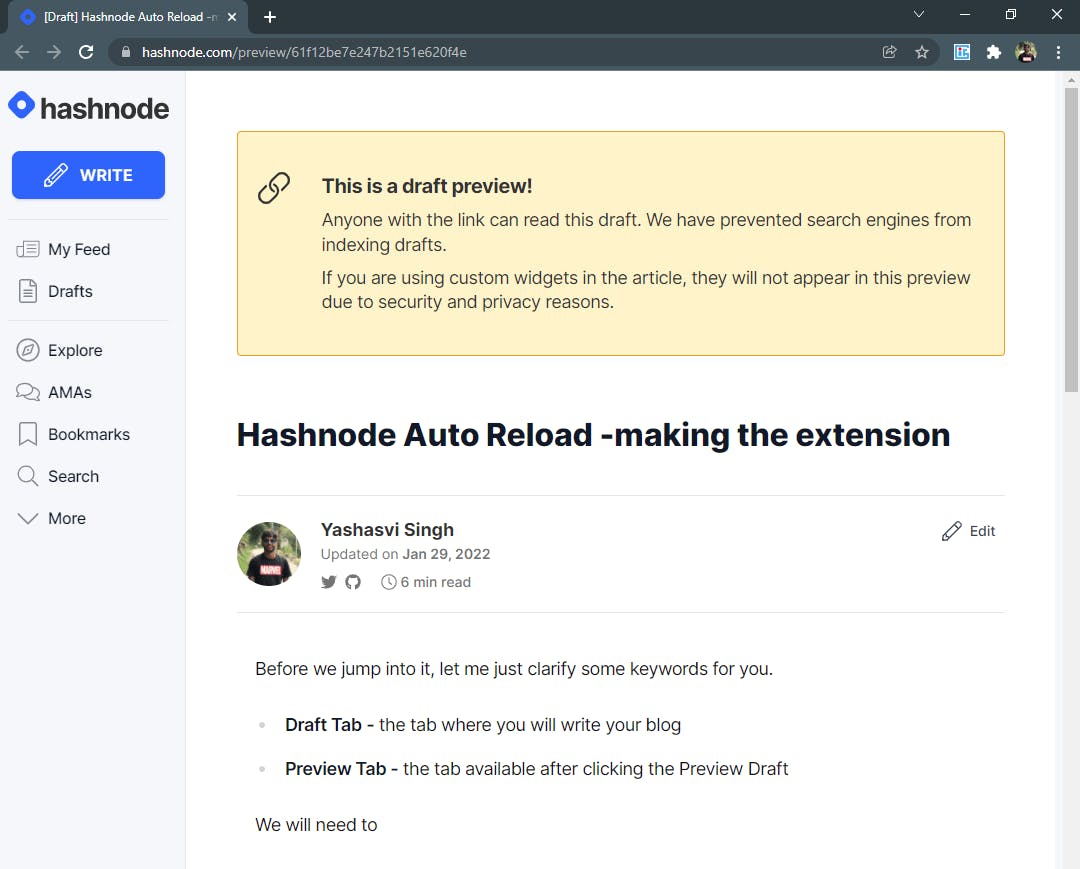
We just need to open a tab with the Preview URL... which is quite simple as the draft and the preview are very similar except for these keywords.
For a draft with URL "www.hashnode.com/draft/xyz", the corresponding preview URL will be "www.hashnode.com/preview/xyz"
That is how we make a new preview URL, and open a new window with the newUrl.
Now if you reload the extension and click on the Extension Icon, a new window with the preview of the draft will open.
Notice in the code that we have the draftTab as well as the previewTab available to us and we will be using them in the future.
Listen to changes in the Draft section
With the Preview Tab ready, we will now need to listen to the changes in the Draft tab in order to reload the extension accordingly.
For that we need to introduce the content script.
Adding a content script
A content script is a file that runs in the context of web page.
In simplicity, this script loads on every page(if allowed), and has access to the elements of the webpage.
So when we type in the draft section, we can listen to the changes of the specific textarea and reload the Preview tab accordingly.
//manifest.json

{
    ...
    "content_scripts": [
        {
          "matches": ["https://*.hashnode.com/draft/*"],

          "js": ["content.js"],
          "run_at":"document_end"
        }
      ]
  ...
}
- matches - used to decide where the content script should load, limited to only Hashnode drafts
//content.js
let typingTimer;
let doneTypingInterval = 2000;
let myInput = document.querySelectorAll('textarea')[1];
myInput.addEventListener('input', () => {
clearTimeout(typingTimer);
if (myInput.value) {
typingTimer = setTimeout(doneTyping, doneTypingInterval);
}
});
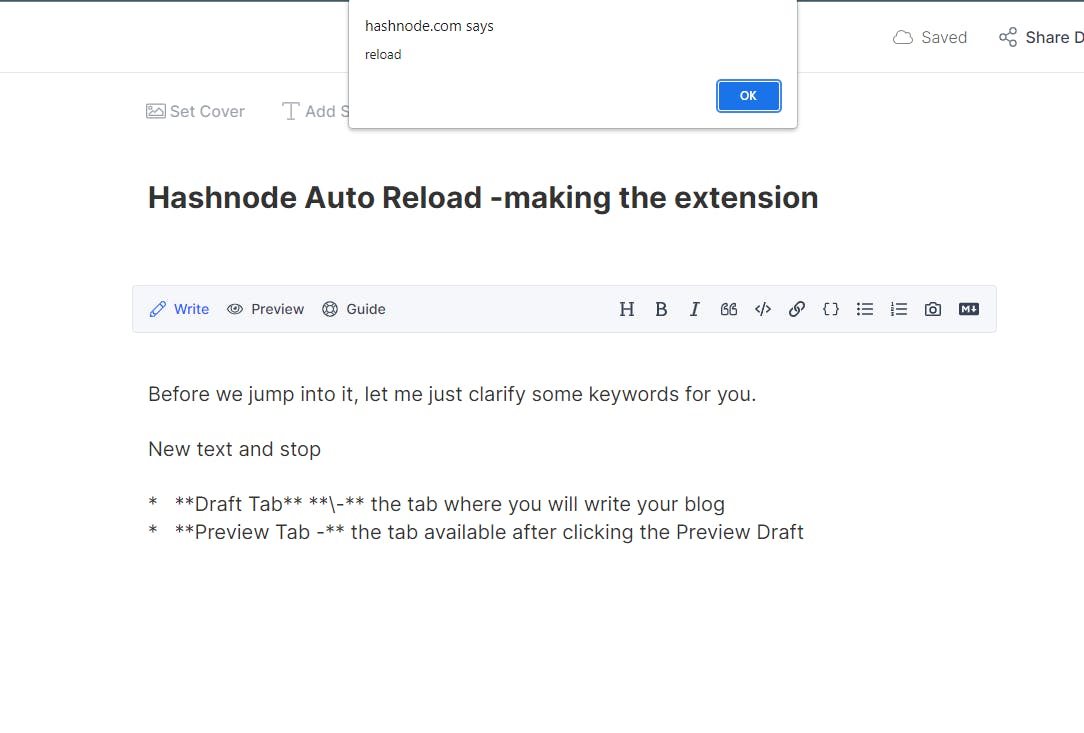
function doneTyping () {
alert('Reload')
}
After selecting the second textArea in Draft(which is the Blog Body Textarea), we listen to the input event.
But instead of reloading immediately, we give a couple seconds once the person has finished typing, or else the preview would load on every change!
We do this by initializing a variable and setting it to a setTimeout method every time the input changes.
If 2 seconds (2000 milliseconds) have passed without any new change, the doneTyping() function will be called.
In case 2 seconds have not passed since the last change, the clearTimeout() will clear the last assigned setTimeout() method, and a new setTimeout will be assigned to it.
If setTimeout seems confusing, Chris Bongers is here for the rescue.
Lucky for me, he published an article regarding setTimeout() and you should totally check it out.!
After Reloading the extension, once you have stopped typing and a couple seconds have passed, you will see an alert in your window.
Link both the Preview and Draft Tab
Now whenever the doneTyping() method is called, we want the Preview Tab to reload, but two problems arise:
- The content script does not know the
tabIdfor the Preview Tab - Even if it knew the
tabId, the content script cannot reload some other tab.
For both the problems at hand, we are going to use Message Passing between the background and the content script.
Sending tabId to the Content Script
As soon as the Preview Tab is created, we need to send over the tabId for the Preview Tab to the content script of the Draft Tab.
//background.js

chrome.action.onClicked.addListener((draftTab)=>{


    let tabUrl = new URL(draftTab.url);

    if(tabUrl.hostname==="hashnode.com" && tabUrl.pathname.includes('draft')){

        newTabUrl = tabUrl.href.replace('draft','preview');

        chrome.windows.create({
            url: newTabUrl
          },(previewTab)=>{
            //Sending message to the draftTab
            chrome.tabs.sendMessage(draftTab.id, {message: "previewTab",previewTabId:previewTab.tabs[0].id})

          });
    }


});
Here the message contains an object which includes the previewTabsId .
// content.js

chrome.runtime.onMessage.addListener(
    function(request, sender, sendResponse) {
      if (request.message === "previewTab"){
          window.previewTabId = request.previewTabId;
      }
    }
);
On the content script side, we listen for messages and store the previewId - the tab ID for the preview tab into the window object.
Both the above steps happen as soon as the new preview tab is opened on clicking the extension icon.
Reloading the Preview Tab
Because the content script cannot use the chrome.tabs.reload() , we need to tell the background script to do it for us.
For that again, we use message passing.
// content.js

function doneTyping () {

chrome.runtime.sendMessage({joke: "Knock knock",previewTabId:window.previewTabId})

}
As the doneTyping method is called, the content script sends a message to the background script with the previewId - the tab that needs to be reloaded .
Notice how the sendMessage from content script does not require the tab.id parameter.
//background.js

chrome.runtime.onMessage.addListener(
    function(request, sender, sendResponse) {
      if (request.joke === "Knock knock" && request.previewTabId)
      chrome.tabs.reload(
        request.previewTabId
        )
    }
);
Here in the background script, we use the chrome.tabs.reload method to reload the preview tab using the previewTabId sent over by the content script.
AND BAZINGAAA.. It works.!!

We have ourselves a Hashnode Auto Reload Extension !!!
The final file structure will be :
hashnode-auto-reload
|
|
|---- background.js
|
|---- content.js
|
|---- manifest.json
|
Conclusion
This Extension is an Open Source project and anyone is more than welcome to contribute to this extension.